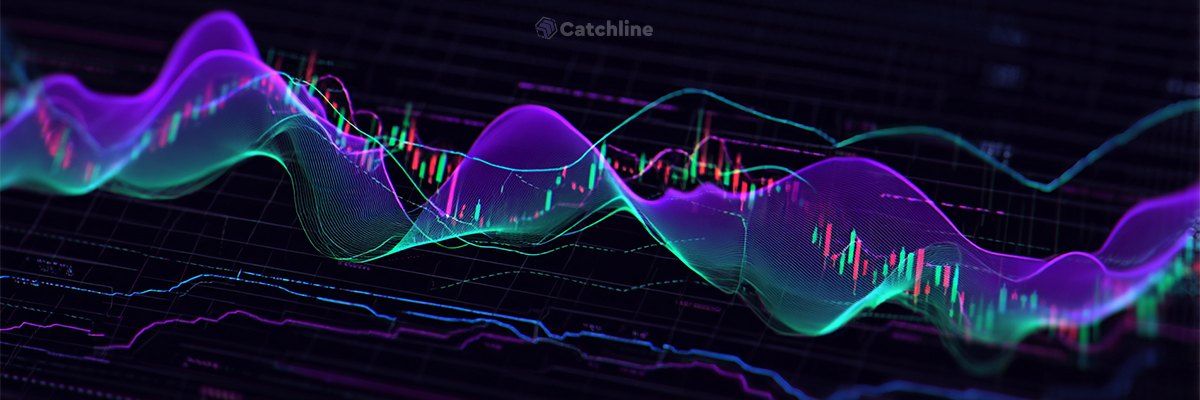
How to Turn Chart Chaos into a Readable Profit Map
Remember the first time you opened a trading chart? Chaotic candles jumping up and down, red, green… “How can anyone make sense of this?” we all thought. However, then someone showed you your first indicator, and the world changed. Suddenly, order emerged from chaos. Therefore, today, I’ll walk you through the entire arsenal of trading indicators on Catchline that transform random price movements into a readable story. Furthermore, we’ll dive deep into today’s star — Bollinger Bands.
Want to see these indicators in action? Check out our detailed video tutorial: How to Use Technical Indicators on Catchline
Chapter 1: Indicators — Glasses for Traders
Why Do We Need Indicators Anyway?
Imagine you’re in a dark room looking for a light switch. You can poke around blindly, or alternatively, you can turn on a flashlight. Similarly, trading indicators are your flashlight in the trading world.
What they do:
- Show the trend (where the market’s heading)
- Additionally, measure movement strength (how long it’ll last)
- Furthermore, find overbought/oversold conditions (when to expect reversals)
- Finally, confirm each other’s signals (double-checking)
Catchline’s Arsenal: From Classics to Exotics
On the Catchline platform, you’ll find the complete toolkit of a professional trader. Therefore, let’s walk through each one.
Chapter 2: Moving Averages — The Foundation
Simple Moving Average (SMA) — “The Honest Average”
What it is: Take closing prices for N periods, add them up, divide by N. Done!
What to use it for:
- First, trend identification (price above SMA = uptrend)
- Second, dynamic support/resistance
- Additionally, filter for other signals
Pro tip: Additionally, the 200 SMA on daily charts is the asset’s “lifeline.” Moreover, big funds often orient themselves around it.
Exponential Moving Average (EMA) — “The Smart Average”
The difference: EMA gives more weight to recent prices. If SMA is democracy (all prices equal), then EMA is meritocracy (fresh ones matter more).
When it beats SMA:
- Scalping and day trading (reacts faster)
- Similarly, cryptocurrencies (high volatility)
- Moreover, pinpointing entry/exit points
Popular strategy: Consequently, EMA 12 and EMA 26 crossover. When the fast crosses the slow from below — we buy.
Weighted Moving Average (WMA) — “The Balanced Approach”
Special feature: Linear weighting. Yesterday’s price is exactly twice as important as the day before.
Where it shines:
- Medium-term trading
- Furthermore, less volatile instruments
- Finally, when you need balance between SMA and EMA
Chapter 3: The Alligator — When Indicators Go Wild
Bill Williams’ Alligator Indicator
This isn’t just an indicator — it’s a philosophy. Moreover, three moving averages with poetic names:
The Alligator’s anatomy:
- Jaw (blue) — 13-period smoothed MA, offset by 8 bars
- Teeth (red) — 8-period smoothed MA, offset by 5 bars
- Additionally, Lips (green) — 5-period smoothed MA, offset by 3 bars
Reading the beast:
- Alligator sleeps (lines intertwined) — no trend, don’t trade
- However, Alligator wakes (lines diverge) — trend beginning
- Subsequently, Alligator eats (lines parallel) — strong trend, hold positions
- Finally, Alligator gets sleepy (lines converge) — trend ending, take profits
Pro secret: Furthermore, when price breaks all three lines simultaneously — that’s a powerhouse signal. I’ve seen EUR/USD run 200 pips in a day after such a break.
Chapter 4: Drawing Tools — Your Artist’s Palette
Why Drawing Beats Indicators
Controversial statement: knowing how to draw proper levels beats any indicator. Nevertheless, Catchline gives you the full set:
Trend Lines
- Connect lows in an uptrend
- Alternatively, connect highs in a downtrend
- Therefore, third touch = strong signal
Horizontal Levels
- Support and resistance
- Additionally, psychological levels (round numbers)
- Furthermore, historical extremes
Fibonacci
- Nature’s magical proportions in trading
- 38.2%, 50%, 61.8% — key levels
- Additionally, work because millions believe in them
Chapter 5: Bollinger Bands — The Star of Our Show
Birth of Elegant Simplicity
Now that you know the full arsenal, let’s dive deep into the most elegant indicator — Bollinger Bands.
In the early 1980s, John Bollinger was working as a financial analyst and, like many of us, searching for the holy grail of trading. However, instead of complicating things, he chose simplification.
“What if volatility isn’t the enemy, but an ally?” he thought. “What if price movement itself tells us where the reasonable boundaries are?”
Math That Even Humanities Majors Get
All the magic in three lines:
- First, Middle line = Simple Moving Average (usually 20 periods)
- Second, Upper band = Middle line + (2 × standard deviation)
- Third, Lower band = Middle line – (2 × standard deviation)
Don’t fear “standard deviation.” It’s just a measure of how far price “runs away” from its average. Consequently, more market panic = wider bands.
Chapter 6: Strategies with Bollinger Bands
Strategy 1: “Bounce from Boundaries”
Logic: 95% of the time, price stays inside the bands. Therefore, touching a boundary = probable reversal.
How to trade:
- First, wait for upper/lower band touch
- Then, check overall context (trend or range?)
- In ranges — trade the bounce
- Finally, in trends — wait for reversal confirmation
Real-life example: On March 15, 2024, EUR/USD traded near 1.0890. Additionally, RSI readings signaled bearish pressure but stayed above oversold levels. Subsequently, a rebound followed later in the session, giving traders around +30–40 pips on intraday moves.
Strategy 2: “The Bollinger Squeeze”
My favorite pattern. First, bands compress like a spring. Then, market holds its breath. Subsequently, traders get nervous. Finally…
Signals:
- First, bands at minimum distance for 20+ candles
- Additionally, volume drops
- Furthermore, ATR at minimums
Trading:
- Initially, set pending orders to break both bands
- When one triggers — cancel the other
- Subsequently, stop — at middle line
- Finally, take profit — 3 channel widths
Statistics: Consequently, 73% of strong moves start after a Bollinger Squeeze.
Strategy 3: “Walking the Band”
In strong trends, price can “stick” to one band and ride it for days.
How to identify:
- Strong impulse breaks the band
- Additionally, next 2-3 candles close at same band
- Furthermore, volume stays high
Trading:
- Enter trend direction on pullbacks to middle line
- Subsequently, stop — beyond middle line
- Finally, hold position until price returns to middle line
Chapter 7: Combo Strategies — When 1+1=3
Bollinger + Alligator = “Confirmed Trend”
Setup:
- Alligator “opens mouth” (trend starting)
- Price breaks Bollinger Band in trend direction
- Enter on pullback to Bollinger middle line
Why it works: Ultimately, two different approaches confirm the same thing — the trend is real and strong.
Bollinger + EMA = “Dynamic Filter”
Settings:
- Bollinger Bands (20, 2)
- Additionally, EMA 50
Rules:
- Only buy when price is above EMA 50
- Similarly, only sell when price is below EMA 50
- Meanwhile, Bollinger gives entry points
This simple rule filters out 60% of losing trades!
Chapter 8: Catchline’s Advanced Features
Multi-Timeframe Analysis
On Catchline, you can overlay trading indicators from higher timeframes onto lower ones. Imagine:
- Watching M15 for precise entry
- However, seeing H4 Bollinger for the big picture
- Additionally, D1 Alligator for global trend
It’s like having three pairs of eyes at once!
Alerts for Every Occasion
Set notifications for:
- First, Bollinger Band touch
- Second, moving average crossovers
- Third, drawn level breaks
- Finally, Alligator “waking up”
Consequently, no more sitting at the monitor 24/7!
Template Saving
Found the perfect indicator combination? Subsequently, save it as a template and apply with one click on any chart. For example, I have templates for:
- First, “Scalping” (EMA 5,10 + Bollinger 10,1.5)
- Second, “Day Trading” (SMA 20,50 + Bollinger + Alligator)
- Third, “Swing” (EMA 50,200 + weekly Bollinger)
Chapter 9: Mistakes 90% of Traders Make
Mistake #1: “More Indicators = Better”
I’ve seen traders with 15 trading indicators on their chart. It’s like trying to listen to 15 songs simultaneously — noise, not music.
Rule: Therefore, maximum 3-4 indicators. One for trend, one for entries, one for confirmation.
Mistake #2: “Holy Faith in Indicators”
“Bollinger showed sell, so I’m selling!” — then news breaks about rate hikes.
Solution: Consequently, trading indicators are hints, not orders. Always consider context.
Mistake #3: “Default Settings for Everything”
Crypto and forex are different worlds. Similarly, minute charts and daily charts are different universes.
Adapt your settings:
- Volatile assets — decrease period
- Alternatively, calm assets — increase period
- Short-term — fast settings
- In contrast, long-term — slow settings
Chapter 10: Action Plan for Beginners
Week 1: Introduction
- Open a demo account on Catchline
- Add one new indicator each day
- Observe how it behaves
- Screenshot interesting moments
Week 2: Experiments
- Try different indicator settings
- Combine 2-3 indicators
- Look for where they confirm each other
- Record observations
Week 3: Focus
- Choose 2-3 favorite indicators
- Trade only their signals on demo
- Keep a trade journal
- Analyze what works
Final Week: Optimization
- Remove what doesn’t work
- Enhance what brings results
- Create your trading template
- Prepare for real account
Epilogue: Your Path to Mastery
Trading indicators aren’t magic success formulas. They’re tools, like a hammer for a carpenter or brush for an artist. In skilled hands, they work miracles. In unskilled ones — they create chaos.
Catchline gives you the complete toolkit. From simple moving averages to the exotic Alligator. From elegant Bollinger Bands to Fibonacci magic.
However, remember the main thing: the most important indicator is your brain. Learn to read the market. Understand crowd psychology. Control emotions.
Additionally, start simple. Add one moving average. Then Bollinger. Feel how trading indicators talk to you. Furthermore, when you learn to hear their language — welcome to the profitable traders’ club.
👉 Start now at Catchline.io
P.S. John Bollinger once said: “My bands are just statistics dressed in visual form.” But what beautiful and profitable statistics they are!
Discover the world of technical indicators on Catchline.io. All tools are built-in and ready to use. Demo account is free, educational materials included, and possibilities are endless. Your journey to profitable trading starts with the first indicator.
Watch our complete video guide to master these tools: Technical Indicators Tutorial – From Basics to Advanced